3D Printing with the Ender 3 – A journey
Last summer I wanted to finally get into 3D printing, since prices have dropped significantly since I last want to get into it a few years back. On the recommendation of a friend I bought the cheap Ender 3. Over the last couple of months I’ve been trying to improve the print quality, speed, and reliability. Mostly for fun, but it was nice to have a printer to test out gcode we had to generate as part of the “Computational Fabrication” course at UHasselt where we had to write a program to slice STL files.
Calibration, tension, and leveling
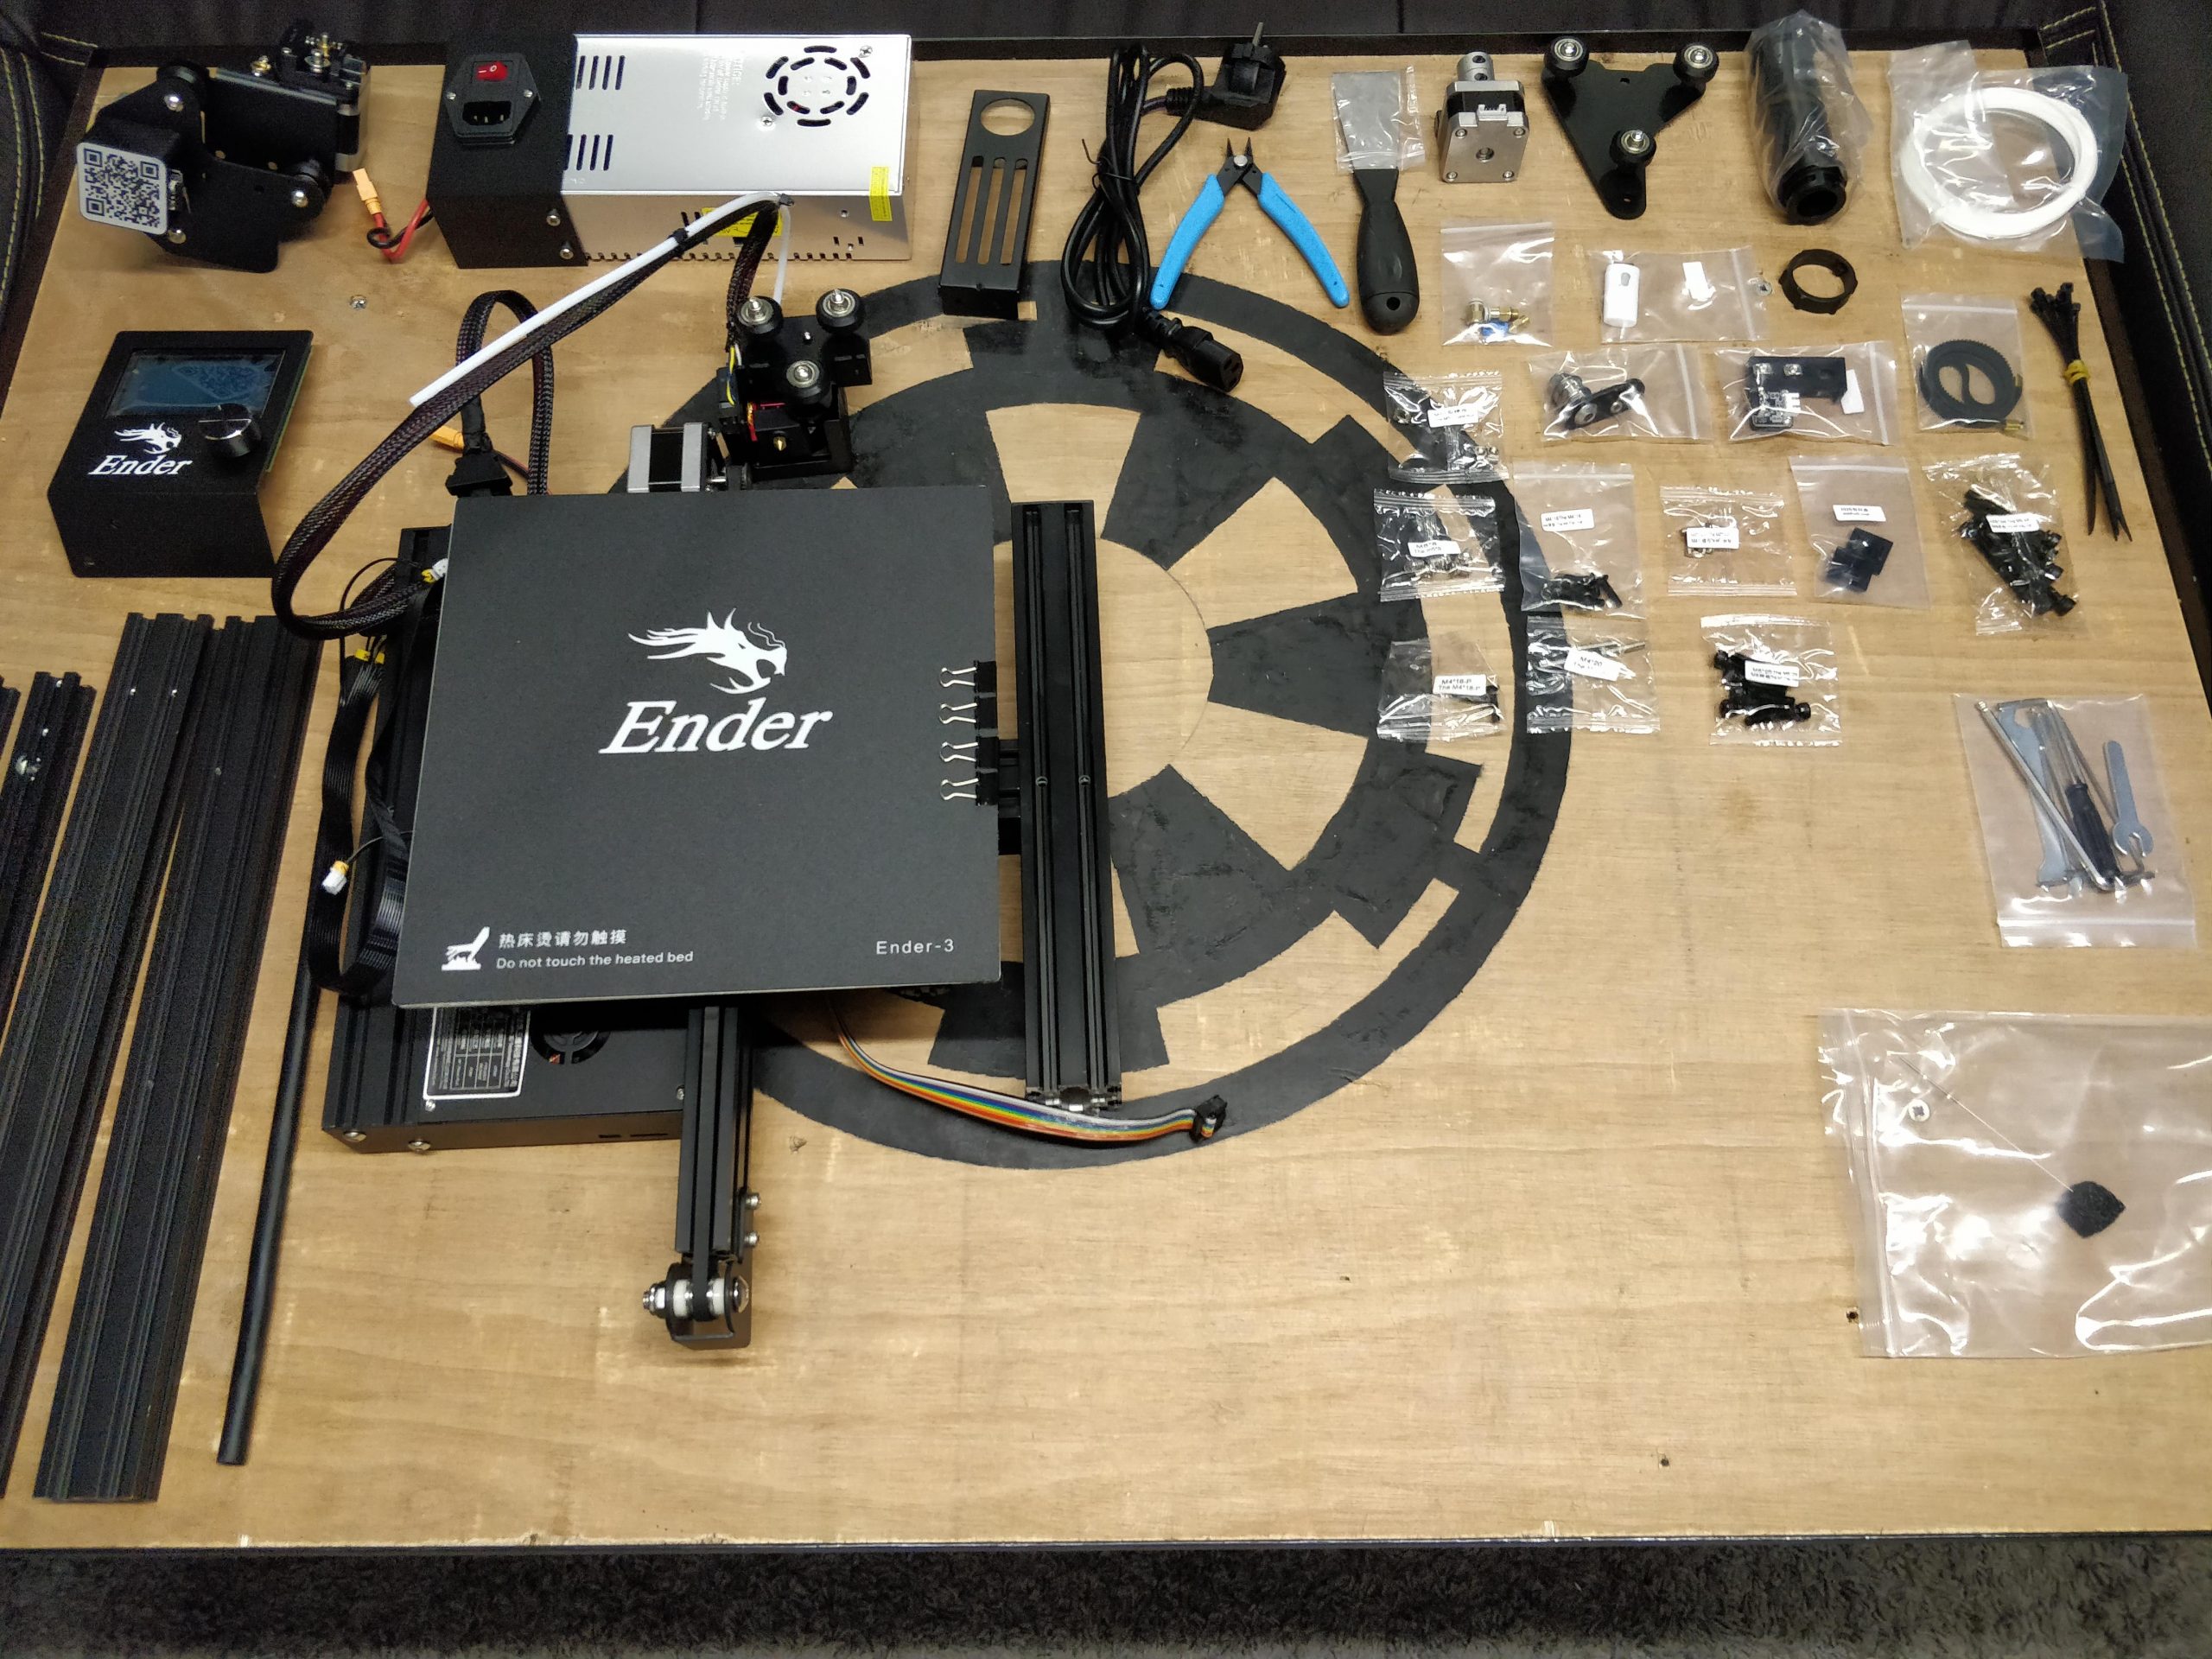
Ender 3 components before assembly. While the first prints were okay, they definitely had some problems. Turns out using this printer is not just following the included assembly instructions, and that’s it. The basic lessons I had to learn to get a good print were: tension the X-axis belt properly, check the tightness of the eccentric nut/wheel on the X carriage, make sure the X-axis is perpendicular with the Z-axis (the eccentric nuts on the side), calibrate the extrusion E-steps, and make sure the bed is leveled properly. That last one was a bit of a problem, since the build plate was a bit warped out of the box, for this I decided to get a glass bed, although a BL-Touch might also be nice.
Another thing that made the printer a fair bit quieter, was to take a piece of the packing foam from the box, and put it under the printer to act as a damper for all the vibrations. At the time I was testing with a 0.2mm nozzle, and this made a visible difference in print quality! Hopefully I can improve this further in the future.
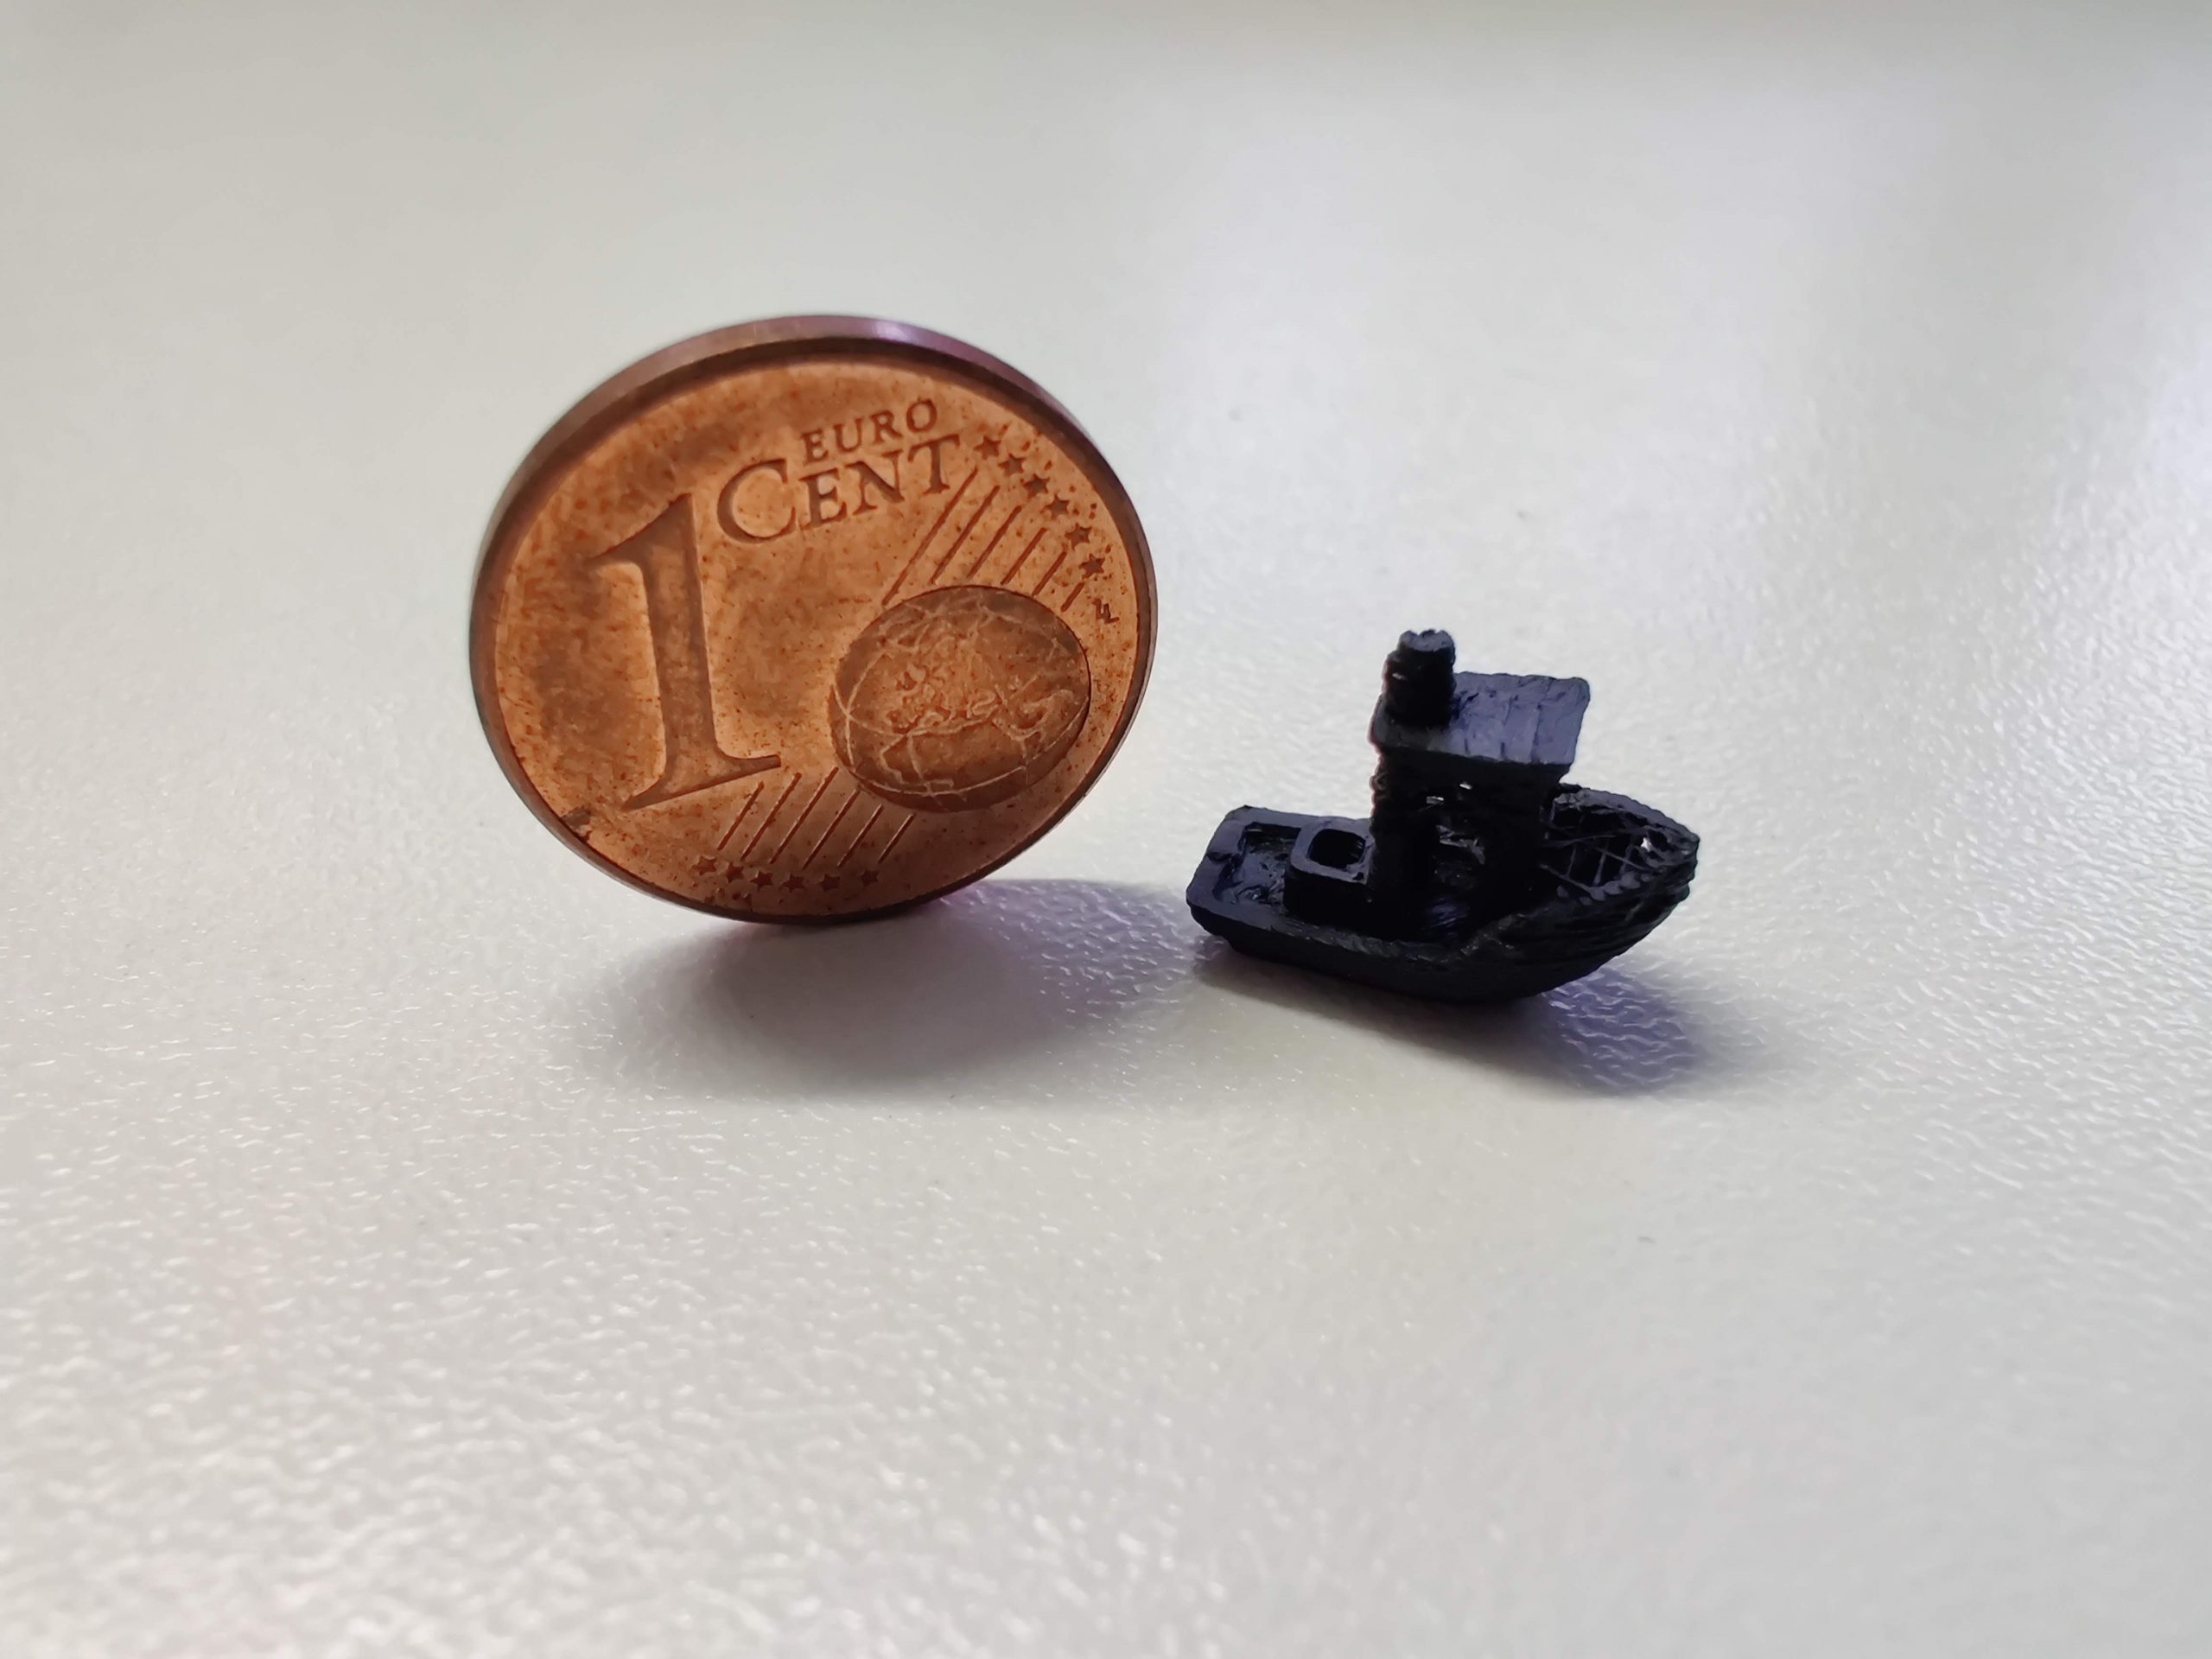 |
| 0.2mm nozzle experiment (3D benchy: http://www.3dbenchy.com/) |
Mods & Upgrades
This is where the fun begins, so many things to try! Along the way I decided I wanted to make this printer more quiet, since this would also reduce vibrations, and hopefully improve print quality. The additional silence allowed me to move the printer from another room into my workspace, I had put the printer in another room because the noise it created was too much for me. Some of the changes are 3D printed, and some are extra hardware.
Printed upgrades
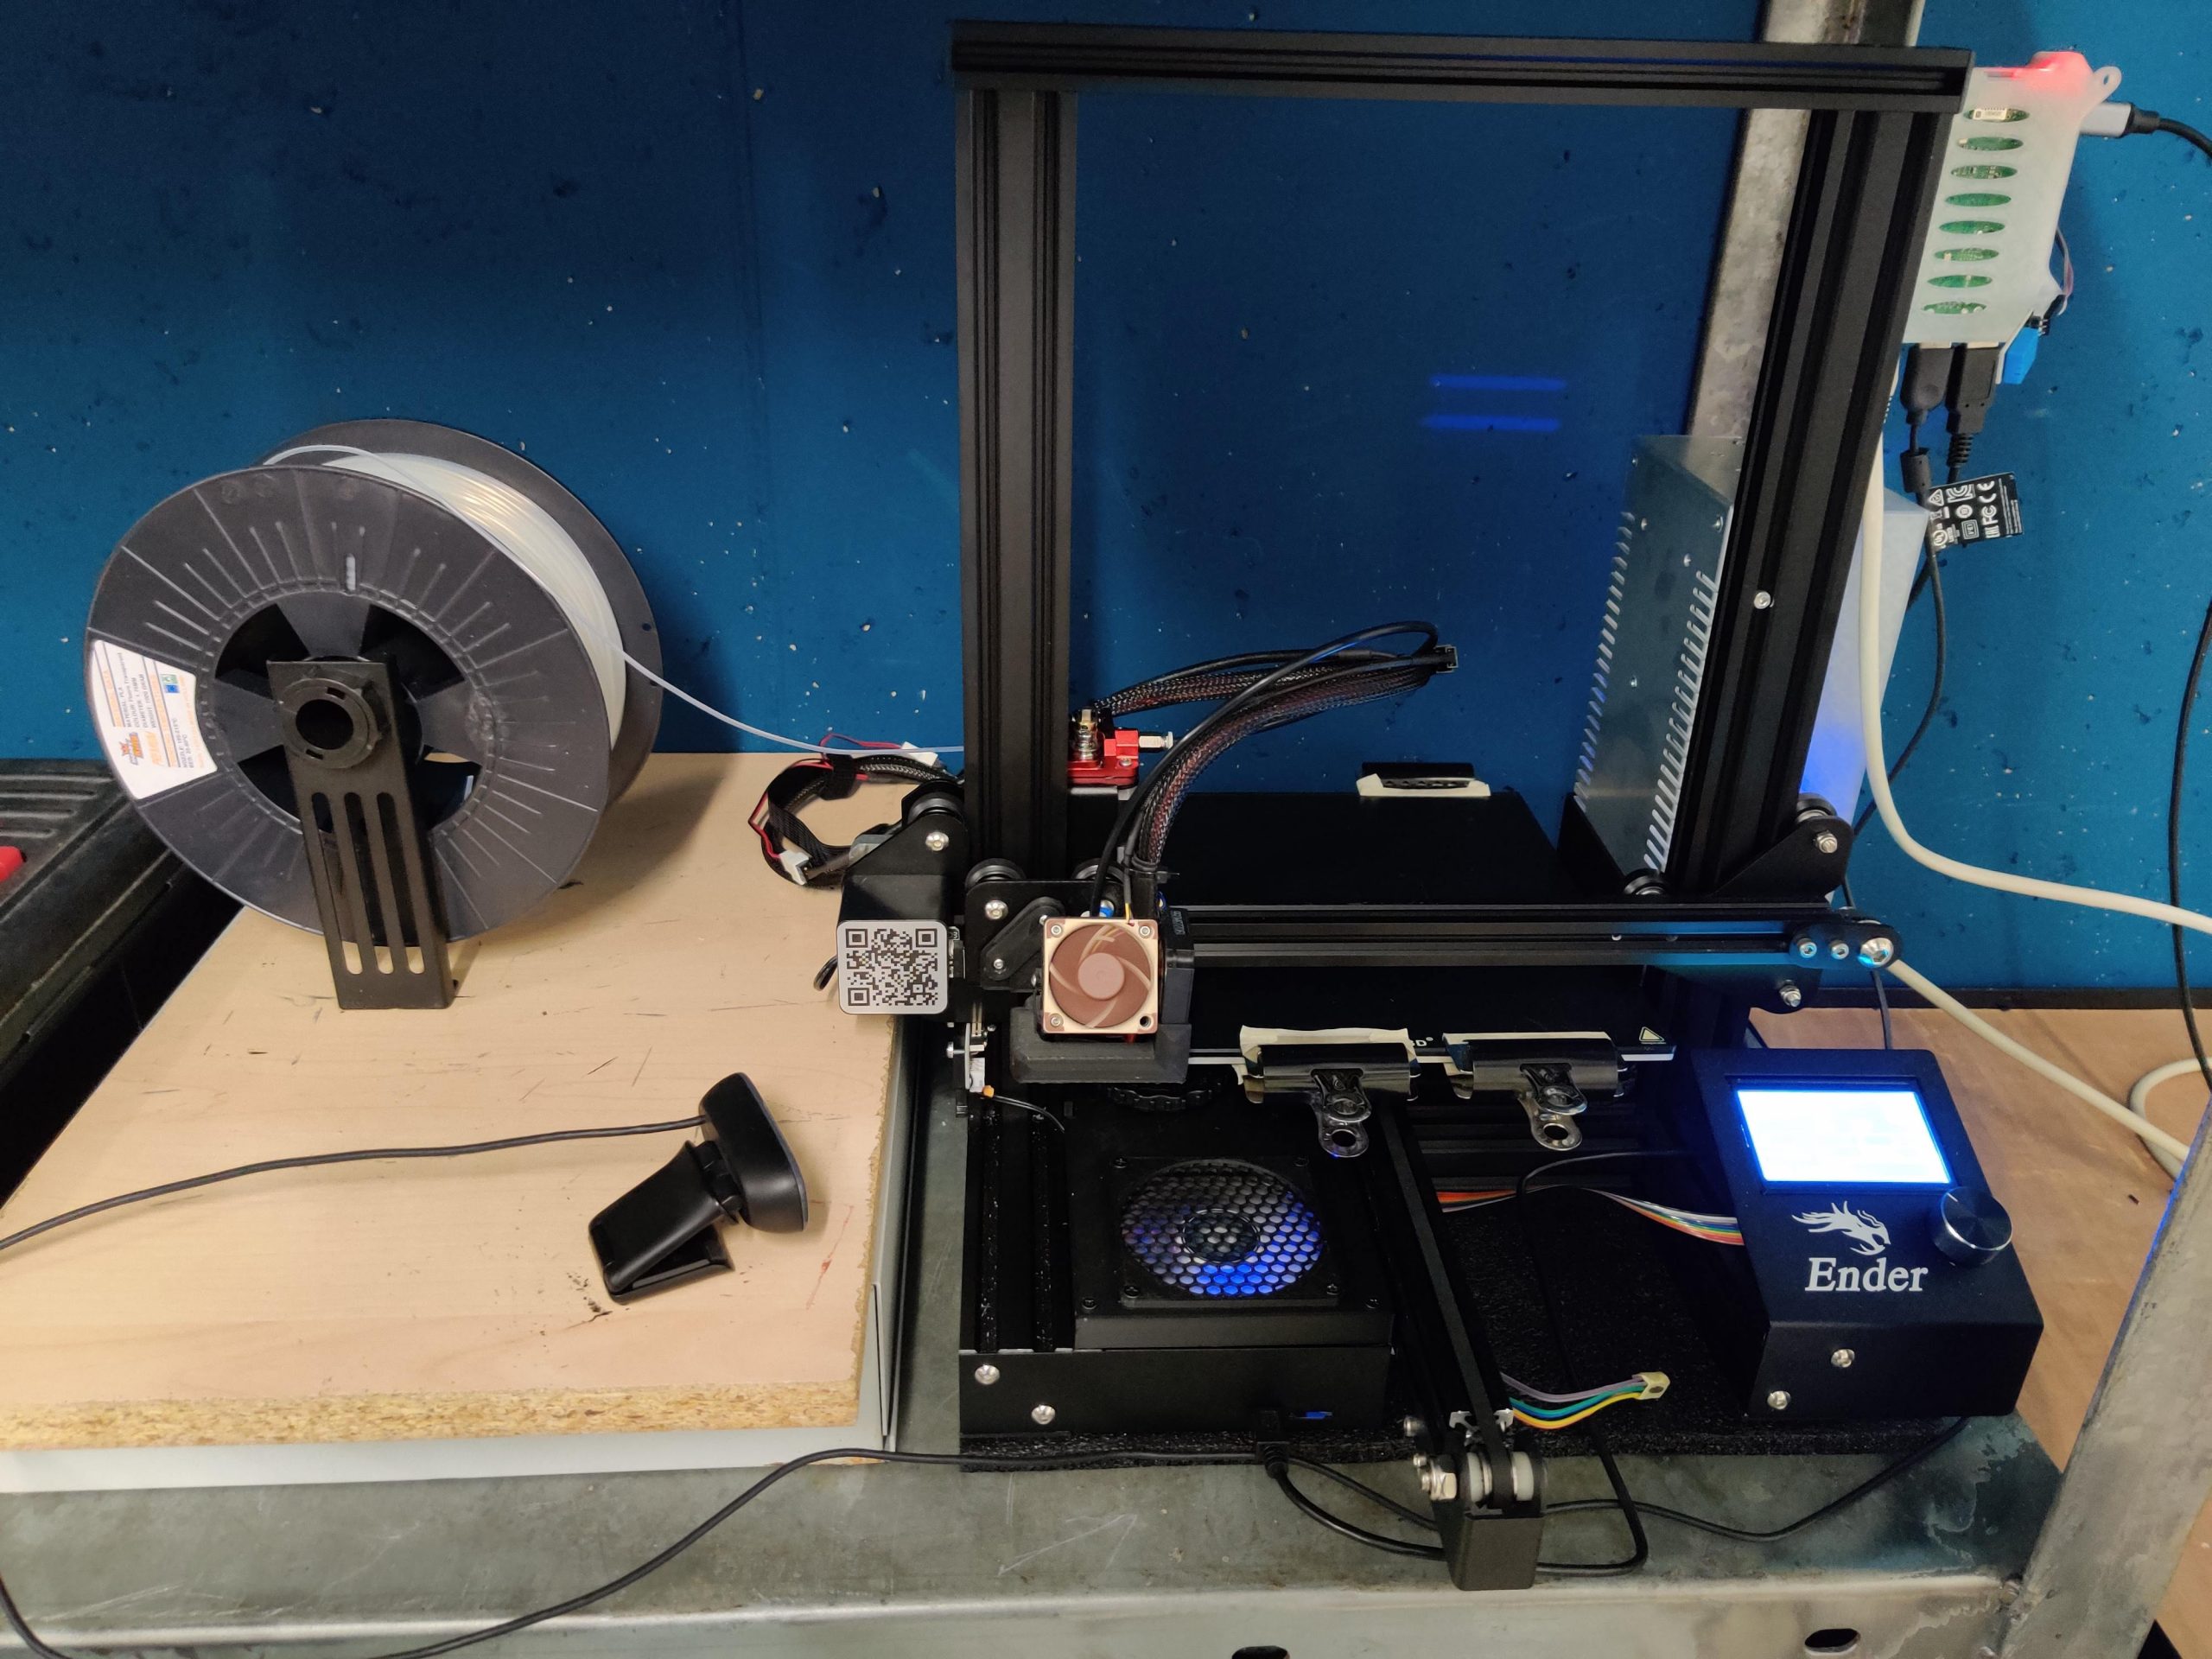
Hero Me fan duct to help with part cooling (bridging in specific). I did replace the 40mm fan with a noctua fan for silence, this also reduced vibrations on the carriage significantly.
Since I had some 80mm fans laying around, I added a cover for both the mainboard and PSU using these fans. Especially swapping the small fan over the mainboard made this machine a lot quieter, the PSU fan not so much but that depends more on the specific fan I used. I also added some fan covers so I don’t accidentally put my fingers between the fan blades.
A Raspberry Pi 4 case to hold and attach a Raspberry Pi running Octoprint.
Hardware upgrades
The first hardware upgrades I did were a glass bed, and the gold bed springs. Bed leveling has become a lot easier, and I need to do it less often. I could have gone for auto bed leveling, but I don’t really lose a lot of time re-leveling.
The next upgrade was not really print quality, but it’s nice to have a webcam stream to monitor print progress. Luckily I had a Raspberry Pi laying around, so I installed Octoprint and setup a webcam. Overall it’s pretty nice, but I did have some stability issues with the serial connection to the printer. Another nice thing about Octoprint, is the plugin support, especially since I had a humidity and temperature sensor I could use to monitor the environment using the Raspberry Pi GPIO pins.
The third upgrade was the Ender 3 silent mainboard, it’s crazy how much quieter these motors are with different drivers. This board is a drop-in replacement for the existing board, and uses the TMC2208 stepper drivers. I had to change the vref voltage, since they were way too low and caused issues. Besides that, I also installed a newer marlin firmware on the board. I managed to pick this one up on a black Friday sale, but for full price I think a SKR board or something similar would have been a better choice.
I did replace the extruder with an aluminium one, but I have a dual gear extrusion on its way, so I’m curious as to how that one will perform. I’ve had some underextrusion printing with smaller nozzles, like 0.2mm, so I hope this will help with the smaller nozzles or with higher printing speeds.
Overall thoughts
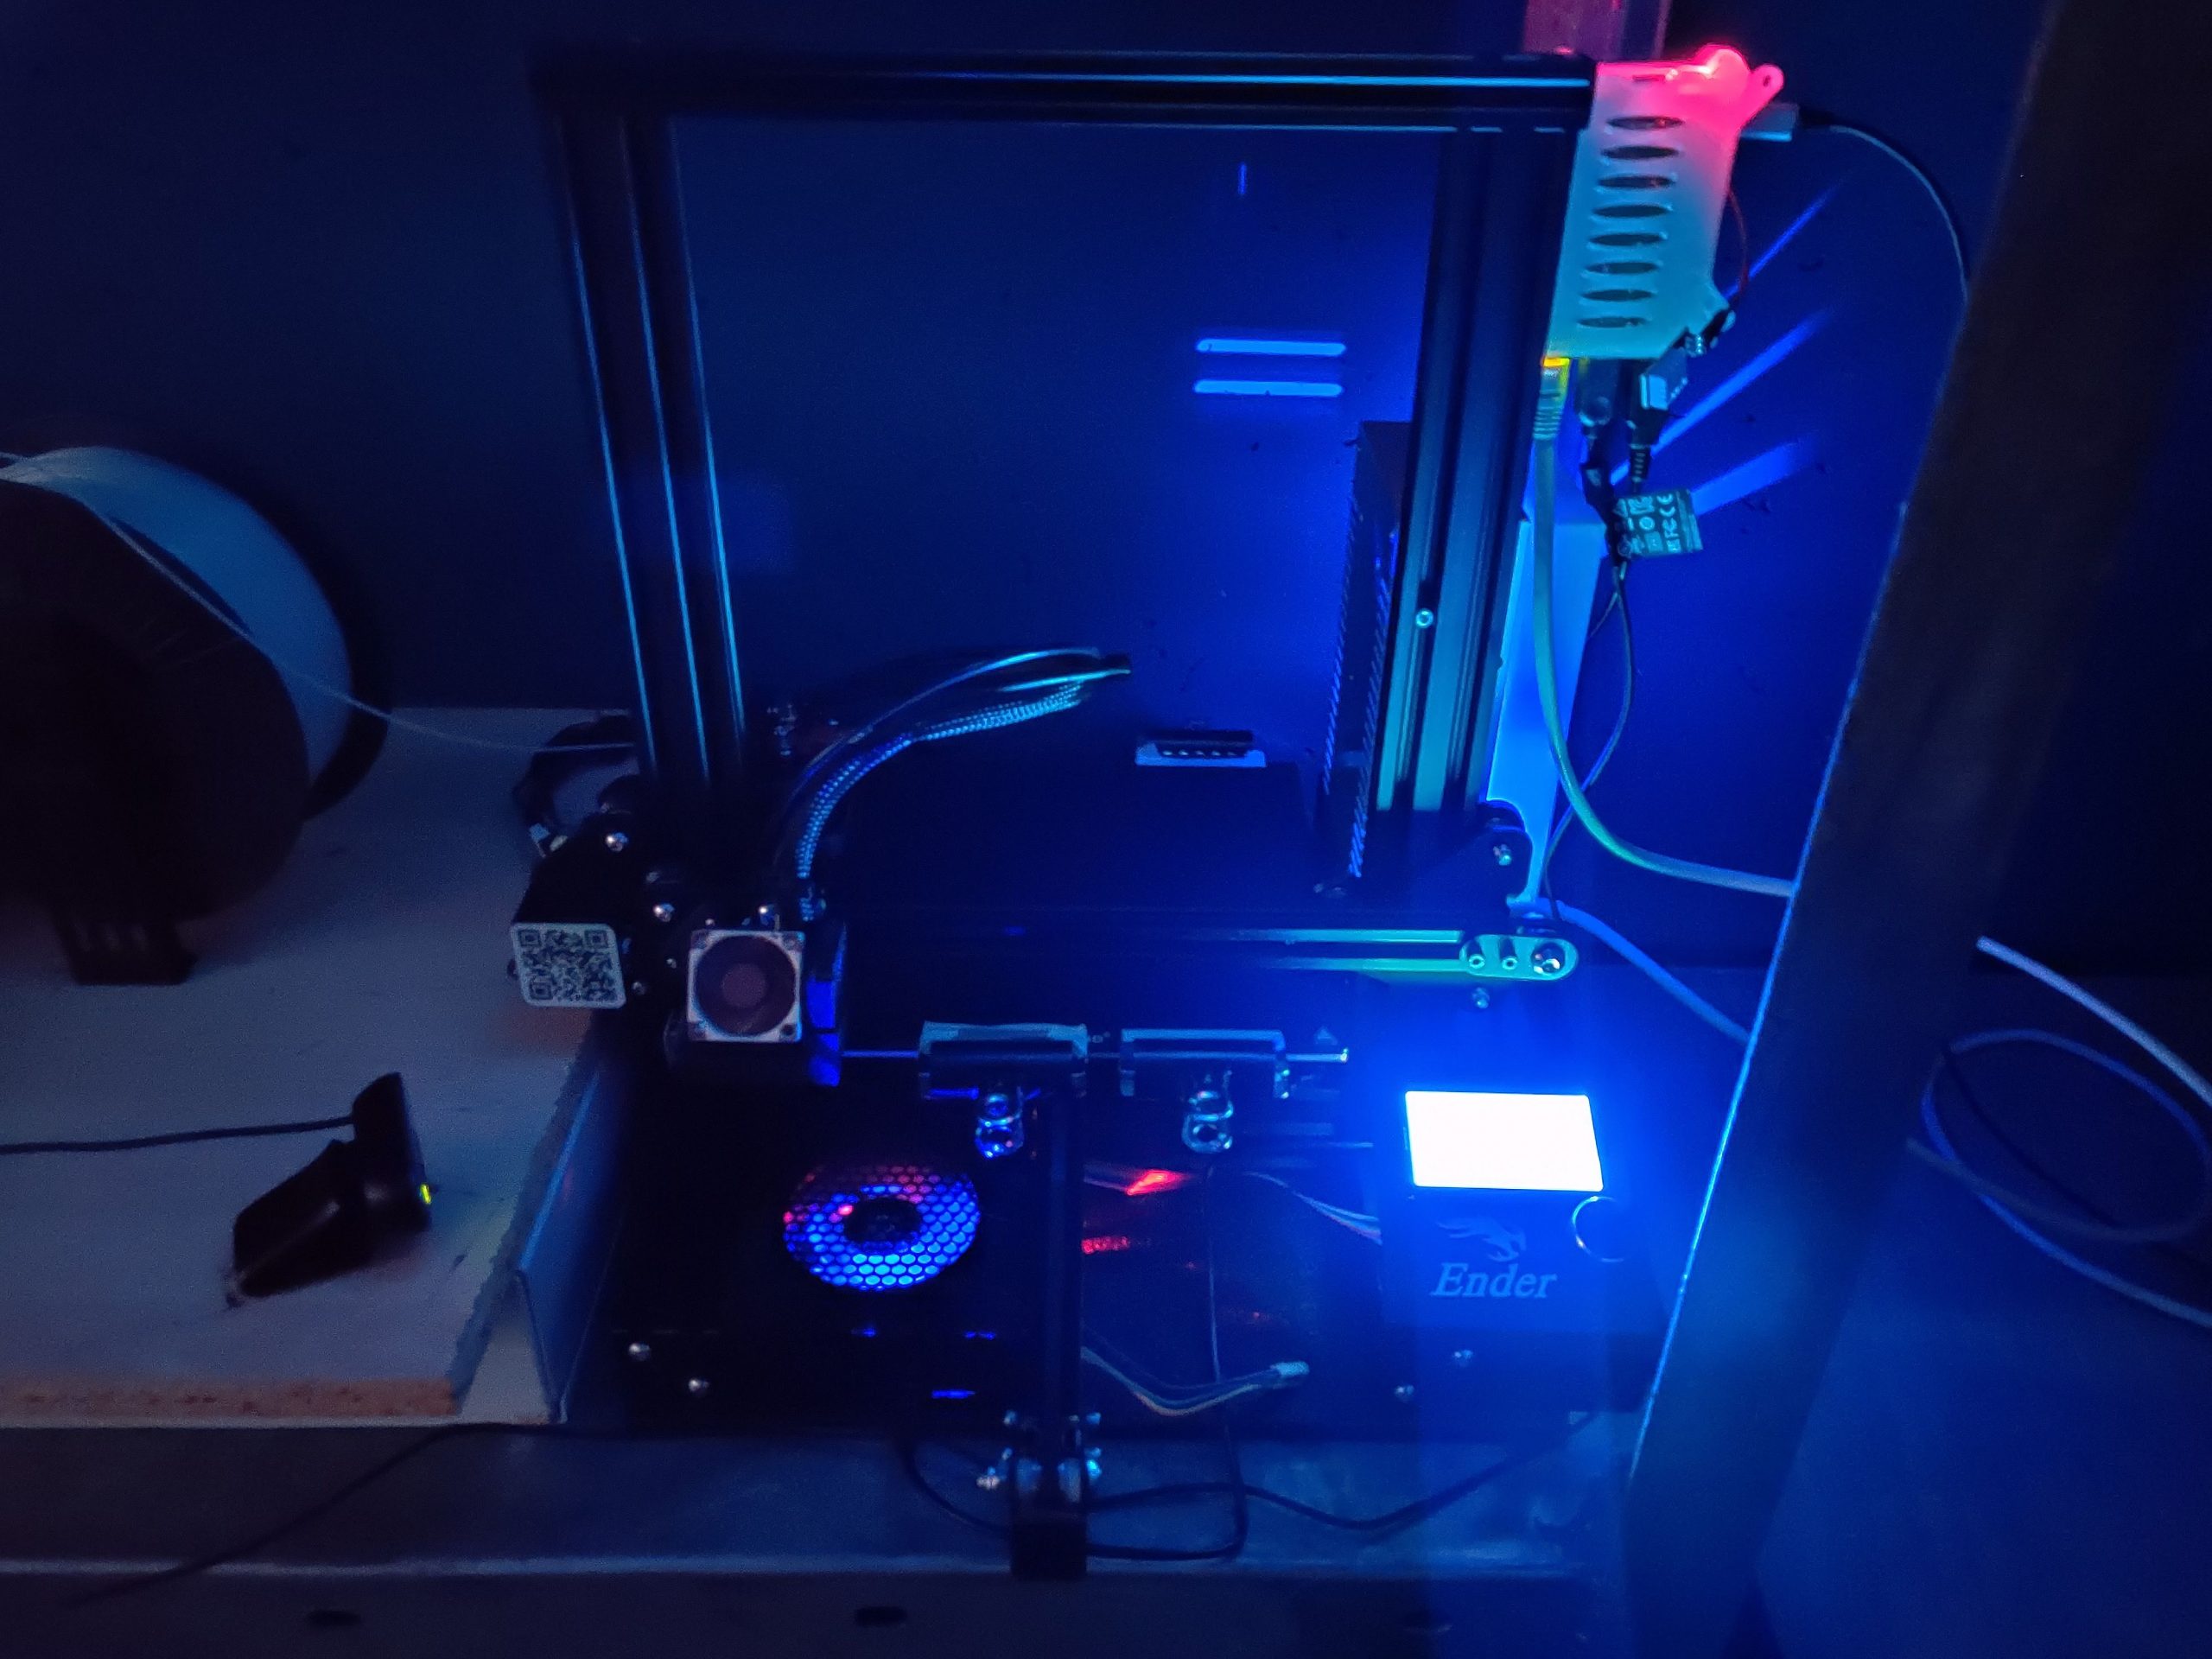
The Ender 3 has been pretty good, getting into 3D printing, but it does require time and attention to get properly set up. There are a lot of mods to try out, and improve the printer, so it’s great if you’re into that like I am :). And it looks pretty cool in the dark!
 |
 |